What is heat embossing?
This is a technique where something to which embossing powder will adhere is applied to cardstock and then the embossing powder is sprinkled onto that area and the excess shaken off. Heat is then applied to melt the powder into a shiny image. This technique is often used for sentiments but is not limited to this as we shall see…
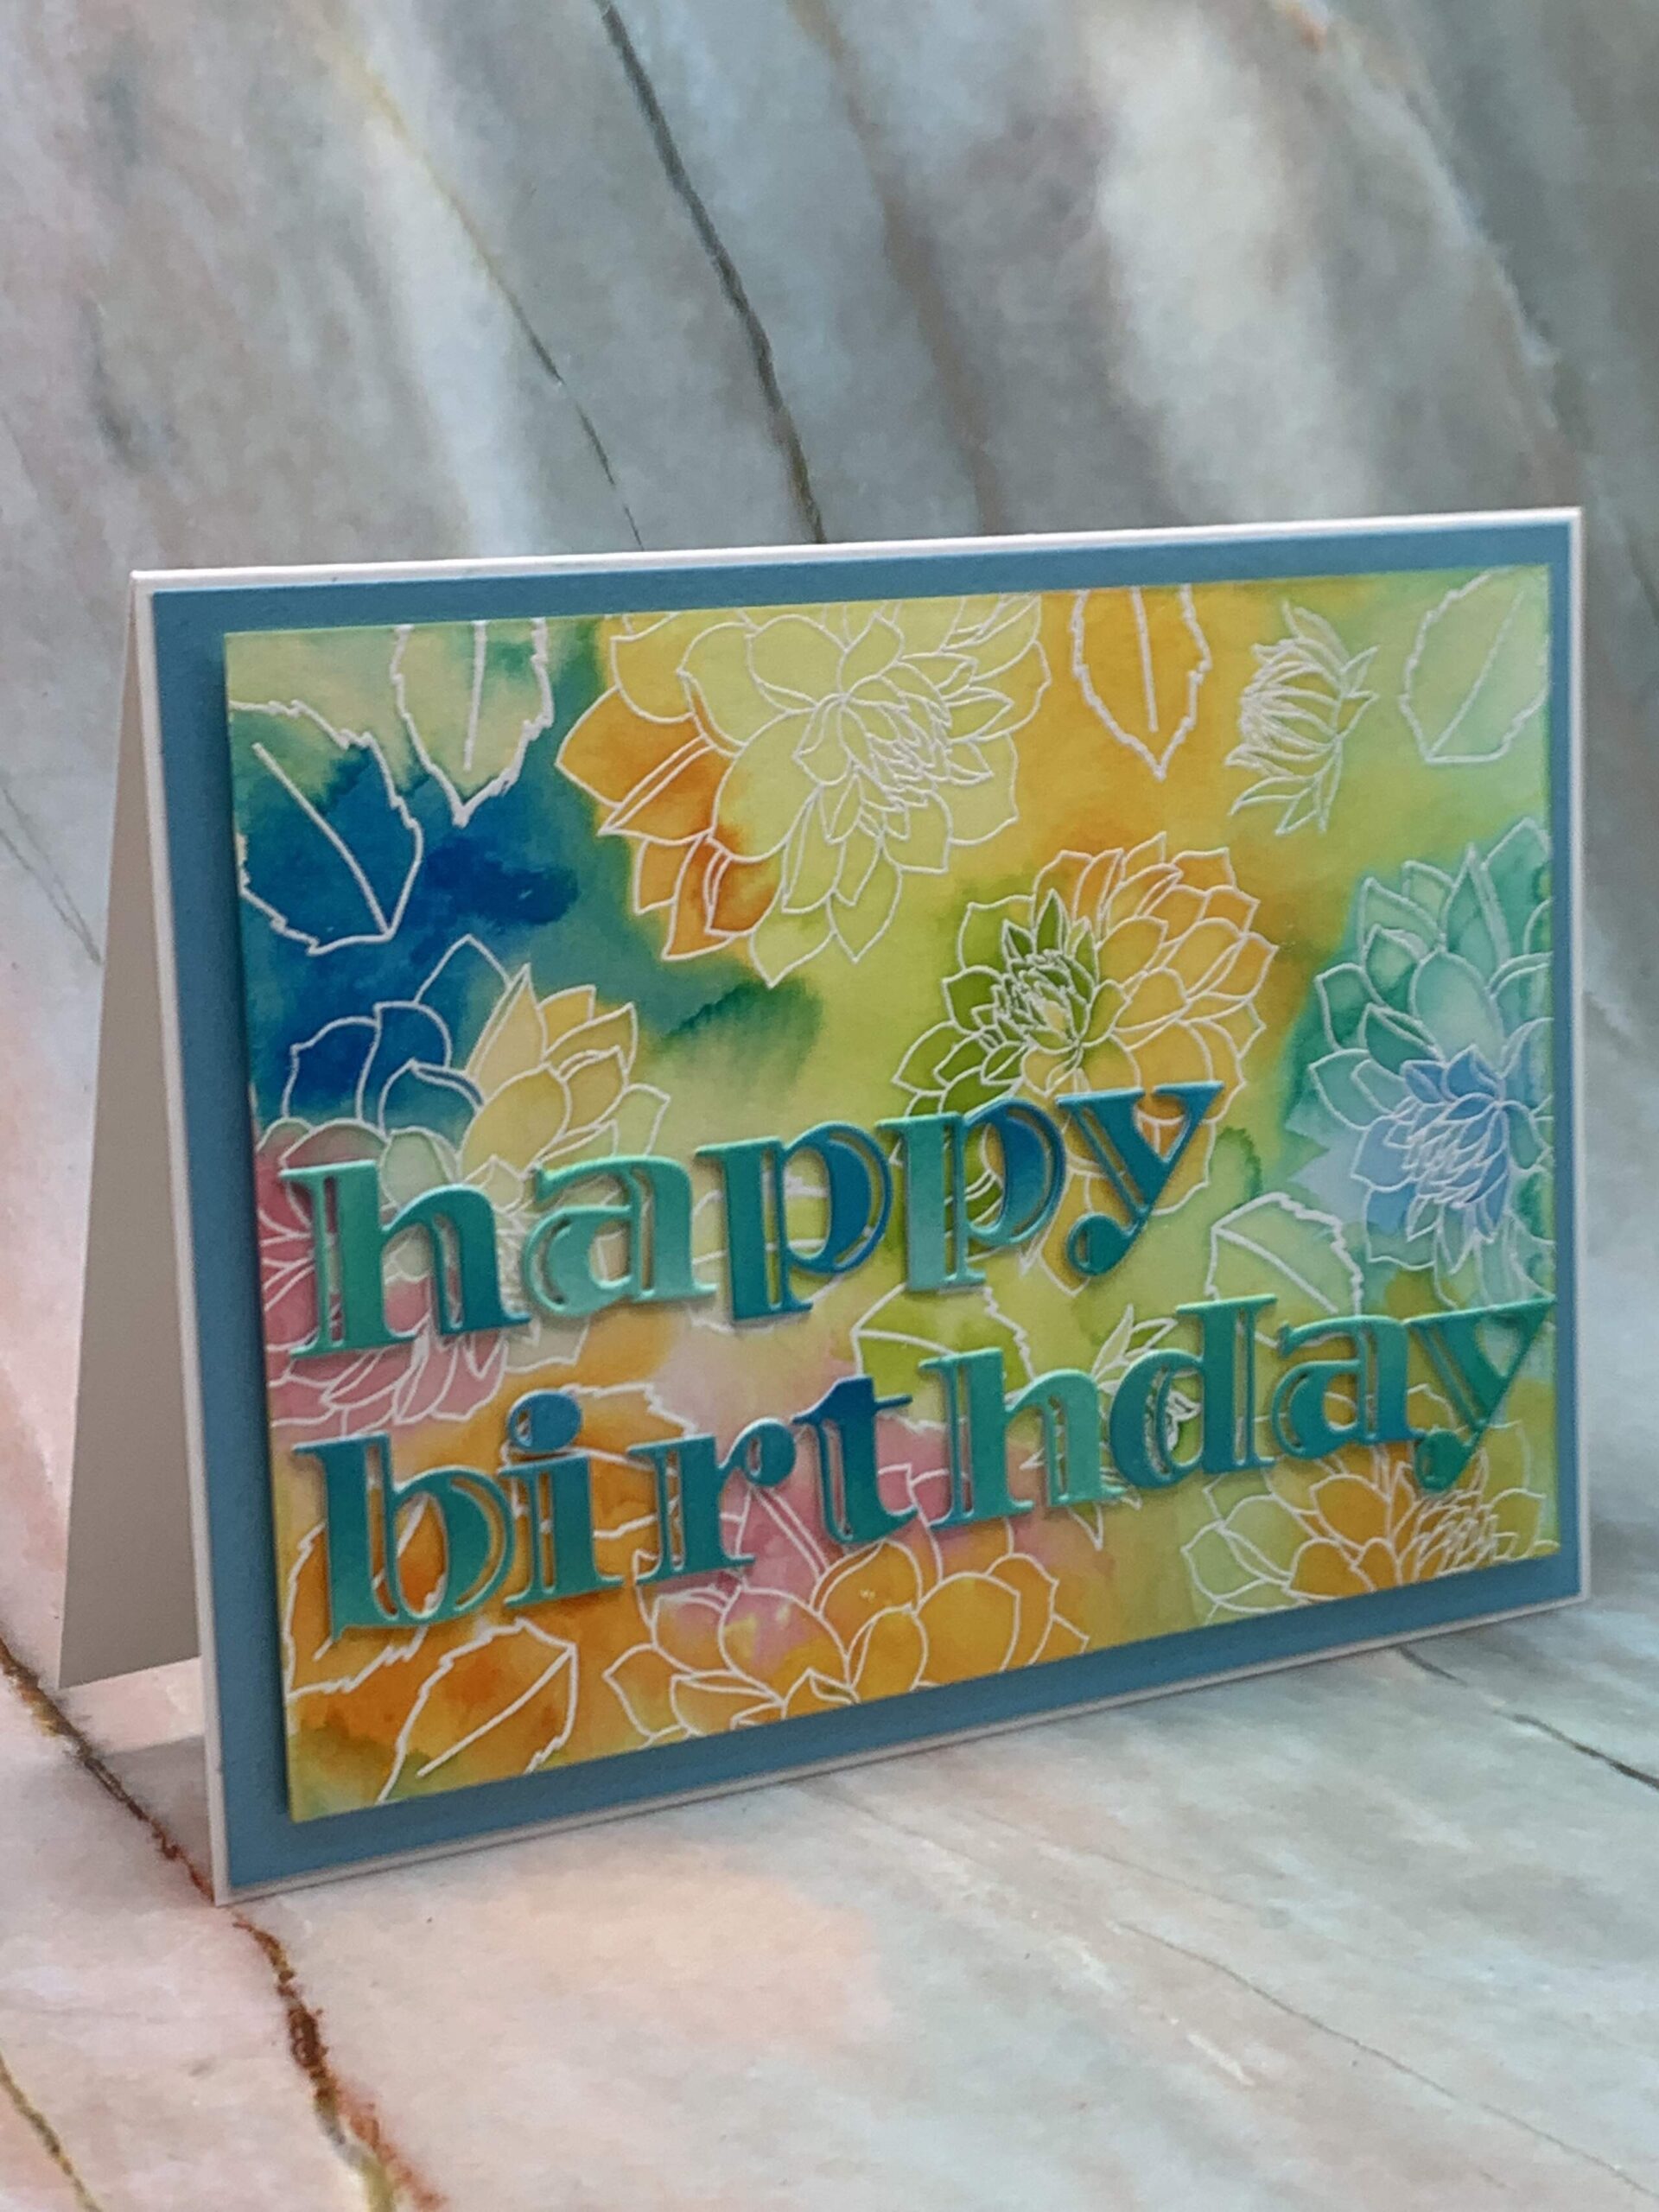
Lesson 1: Heat Embossing for Coloring


To make this card I first applied an antistatic agent (like baby powder or corn starch) to some hot press watercolor paper so the embossing powder doesn’t end up sticking where I don’t want it. Next I stamped the image with a VersaMark Water Mark Stamp Pad, a sticky, oil-based ink, and then sprinkled embossing powder over this. I shook off the excess, then heat set it with my heat tool. Many years ago we held the cardstock over the stove or an iron to heat set the embossing powder. Using a heat tool/gun is quick and easy, more controlled, and I don’t have to leave my studio!
I then watercolored the image, a process I especially love! I die cut the image and a few extras to glue together to make a stack. After this I turned the negative space of the watercolor paper into a background by splashing it with water. This was in lieu of the VersaMark. Next I sprinkled the same embossing powder over this and then heat set it.
For the sentiment I stamped in a color that matched the leaves, but when I applied clear heat embossing over it, it ended up darker than I wanted. Lesson learned. Stamp and heat emboss on a scrap first!! I applied this panel to a card base, then adhered the focal image in it’s space.
Overall, I like this card a lot. In real life it is gorgeous! Except for the watercolor paper and VersaMark ink, I made it entirely of Altenew products.
Lesson 2: Heat Embossing with Clear Embossing Powder

For this card I simply cut two pieces of cardstock—one the card base and the other the red panel. On the red, I stamped the image with VersaMark, then applied clear embossing powder. I found an ink that matched the darkened, heat-embossed area and stamped the image on the card base, then re-stamped with VersaMark and sprinkled clear embossing powder over this and heat-set it.
I added the sentiment with white heat embossing. Next I trimmed the red panel to cut off some of the tips of the Poinsettias. Finally I popped this panel up on foam double-sided adhesive, lined it up with the red images on the card base, and adhered it.
If I had to do this again, I wouldn’t use some cheap “cardstock” from my stash. It was actually more of a nice construction paper, whose color faded when I applied heat. I’ve since donated all of it to a nearby day care center! Life is too short for cheap cardstock!
Lesson 3: Heat embossing for a Resist Effect
With this technique one can heat emboss on the cardstock, then apply a medium over it and the heat embossing will resist the medium. One can ink blend, water color, etc…
I chose to skip this lesson, as I’ve done it several times in previous courses. However, if you would like to see an example then click here !
Lesson 4: Layered Heat Embossing
In this lesson Svetlana Marchenko (aka Sveta Fotinia) made an incredibly beautiful card! She took a set of layering stamps and used it to do layers of heat embossing. She changed it up a little from one flower to another, even doing one on vellum!


Basically, this card is made the same as with ink stamping, but here we used VersaMark and different heat embossing colors. When I made this I had just found out my mother had Covid. I worked hard and fast on this to get it in the mail in a timely manner. If I were to do it again I would not do the base layer on the velum, so that the vellum could show thru. Again, live and learn!
Lesson 5: Ombre Heat Embossing


For this card I stamped the Poinsettia with VersaMark and then sprinkled very small amounts of embossing powder, knocked off excess, rotated the card, sprinkled a little more…and repeated this process until I had the image covered the way I wanted. I repeated this for the leaves. I popped these onto fun foam and adhered them to my stamped and selectively heat-embossed background. My take-away from this card was to use a lighter grey, to avoid solid images for the background, and to not have so much blank space in the background. I mention these learning experiences not to be critical of myself but to remind myself later if I review these lessons. I do love this card!
Lesson 6: Using Stencils for Heat Embossing


For this card I first ink-blended the panel. I then used a stencil to apply VersaMark and then used clear heat embossing there. I then die cut several snowflakes and applied several layers of heat embossing to them. For one of the snow flakes I did a little ink blending before die cutting and clear heat embossing. I used the same sparkly white embossing on the larger snowflake piece as I did on the sentiment.
While I like using clear heat embossing to make darker dots on the background, I wonder what it would be like had I had done a resist here—clear or white heat emboss the dots first and then ink blend. Or perhaps that would turn out too busy. Whatever the case, I still like this card.
Thats how we learn the best! From our “learning opportunities”! LOL That gorgeous purple card looks SO good!! Well done, Leslie!!